이번에는 React.js와 Node.js, MySQL DB서버를 Express를 이용해 연동하는 과정을 진행해보겠다.
React.js는 기본적으로 SPA(Single Page Application) 기반이다.
SPA는 데이터 변경이 일어날때마다 페이지 단위로 바꾸는 것이 아니라,
데이터 변경이 일어난 부분만 부분적으로 교체하겠다는 개념이며, 기본적으로 React.js는 프론트엔드 단이다.
데이터를 전달하기 위해서는 백엔드 서버가 필요하며, 이를 위해 node.js와 express를 사용할 것이다.
데이터 저장에는 Mongoose를 통한 MongoDB가 자주 활용되지만, 본 포스팅에서는 기본인 MySQL로 시작한다.
먼저 소스코드의 전체 파일 구조부터 보겠다.
(project_name)
	└ (app)
		└ App.js
		└ Hello.js
	└ (public)
		└ index.html
	└ (server)
		└ (config)
			└ db-config.json
		└ main.js
	└ package.json
	└ webpack.config.js
코드는 두번째 포스팅을 DB 버전으로 확장한 버전이다.
(public) 디렉토리는 webpack.config.js에서 만들어지는 bundle.js 파일을 index.html과 따로 묶어서 저장하게 된다.
(server) 디렉토리에서는 Node-Express 서버 파일과 DB 정보를 가져오기 위한 db 설정 디렉토리를 가지고 있다.
먼저 설정 파일이다.
// package.json
{
  "name": "second_react_comp",
  "version": "1.0.0",
  "description": "",
  "main": "index.js",
  "scripts": {
    "clean": "rm -rf build public/bundle.js",
    "build": "./node_modules/.bin/babel server --out-dir build && ./node_modules/.bin/webpack --progress",
    "start": "rm -rf build public/bundle.js && ./node_modules/.bin/babel server --out-dir build && ./node_modules/.bin/webpack --progress && node ./build/main.js"
  },
  "author": "refgjin",
  "license": "ISC",
  "devDependencies":{
    "babel-core": "~6.7.*",
    "babel-cli": "~6.9.*",
    "babel-loader": "~6.2.*",
    "babel-plugin-react-transform": "^2.0.2",
    "babel-preset-es2015": "~6.6.*",
    "babel-preset-react": "~6.5.*",
  	"webpack" : "^1.12.*",
  	"webpack-dev-server" : "^1.10.*"
  },
  "dependencies": {
  	"react" : "^0.13.*",
    "babel-polyfill": "~6.7.*",
    "body-parser": "^1.17.1",
    "express": "^4.14.1",
    "mysql": "^2.11.1",
    "react-dom": "^15.0.0",
    "whatwg-fetch": "^0.11.0"
  }
}
의존성 충돌 등을 고려해 package.json을 설정한 뒤, npm install 커맨드로 라이브러리 설치하는 것을 권한다.
// webpack.config.js
module.exports = {
	entry:  __dirname + "/app/App.js",
	output: {
		path: __dirname + "/public",
		filename: "bundle.js"
	},
	module: {
		loaders: [{
			test: /\.jsx?$/,
			loader: 'babel',
			query:{
				cacheDirectory: true,
				presets: ['react','es2015']
			}
		}]
	}
};
소스 파일은 /app/App.js에서 가져오며, 그로 출력되는 bundle.js가 public/에 저장되도록 한다.
// .babelrc
{
	"presets": ["es2015"]
}
/// config/db-config.json
{
	"host"			: "your_domain",
	"user"			: "your_id",
	"password"		: "your_pw",
	"database"		: "your_database"
}
마지막으로 접속할 DB 설정 파일이다.
일반적으로 이러한 key파일의 경우 git upload 외에도 보안을 위해 따로 생성한 뒤
.gitignore에 추가하여 관리를 한다.
// ./app/App.js
import React from 'react';
import Hello from './Hello';

const root = document.getElementById("root")

React.render(<Hello />, root);
기존 코드 그대로이며, public/index.html의 root division에 올라갈 bundle.js 파일의 시작점이다.
// Hello.js
import React from 'react';
import 'whatwg-fetch';

// Parent Component
class Hello extends React.Component {
	constructor(){
		super(...arguments);
		this.state = {
			mans:[]
		};
	}

	componentDidMount(){
		fetch('/man',{
			method: 'get',
			dataType: 'json',
			headers:{
			'Accept': 'application/json',
			'Content-Type': 'application/json'
		}
		})
		.then((response) => response.json())
		.then((responseData) => {
			this.setState({mans: responseData});
		})
		.catch((error)=>{
			console.log('Error fetching man',error);
		});
	}
	render() {
		let mans = this.state.mans.map( (man) => {
			return <Guy
					name={man.name}
					age={man.age}
					createDateTime={man.create_datetime}
					{...man}/>
		});

		return (
			<div>
				<h1>CalyFactory Developers</h1>
				<ul>
				{mans}
				</ul>
			</div>
		);
	}
}

// Child Component
class Guy extends React.Component {
	render() {
		return (
			<li>
				{this.props.name}, age is {this.props.age}. create time : {this.props.createDateTime}
			</li>
		);
	}
}
export default Hello;
App.js에 rendering되는 Hello.js이다.
생성자에서는 mans를 정의하고, componentDidMount()에서는
whatwg-fetch를 이용해 server/main.js의 /man get API를 json 형식으로 가져온다.
Guy 컴포넌트는 부모 컴포넌트인 Hello로부터 man의 이름과 나이, 생성 시간을 전달받아 그리는 역할을 한다.
import express from 'express';
import bodyParser from 'body-parser';
import mysql from 'mysql';
import path from 'path';


let dbconfig = require(__dirname+'/../server/config/db-config.json');
let connection = mysql.createConnection(dbconfig);

const app = express();
const port = 3000;

app.use('/', express.static(__dirname + "/../public"));
app.use(bodyParser.urlencoded({ extended: true }));
app.use(bodyParser.json());

app.get('/man', (req, res) =>{
	connection.query("SELECT * FROM man", (err, rows) => {
		if(err) throw err;

		res.send(rows);
	});
});
const server = app.listen(port, () => {
	console.log('Express listening on port', port);
});
node.js-express를 이용한 서버 코드다.
위에서 미리 생성했던 DB 설정파일을 mysql에 설정하여 연결을 생성하고 3000포트로 listen한다.
‘/man’ 요청에 대해, DB 쿼리로 요청을 보내고, 그 값을 반환한다.
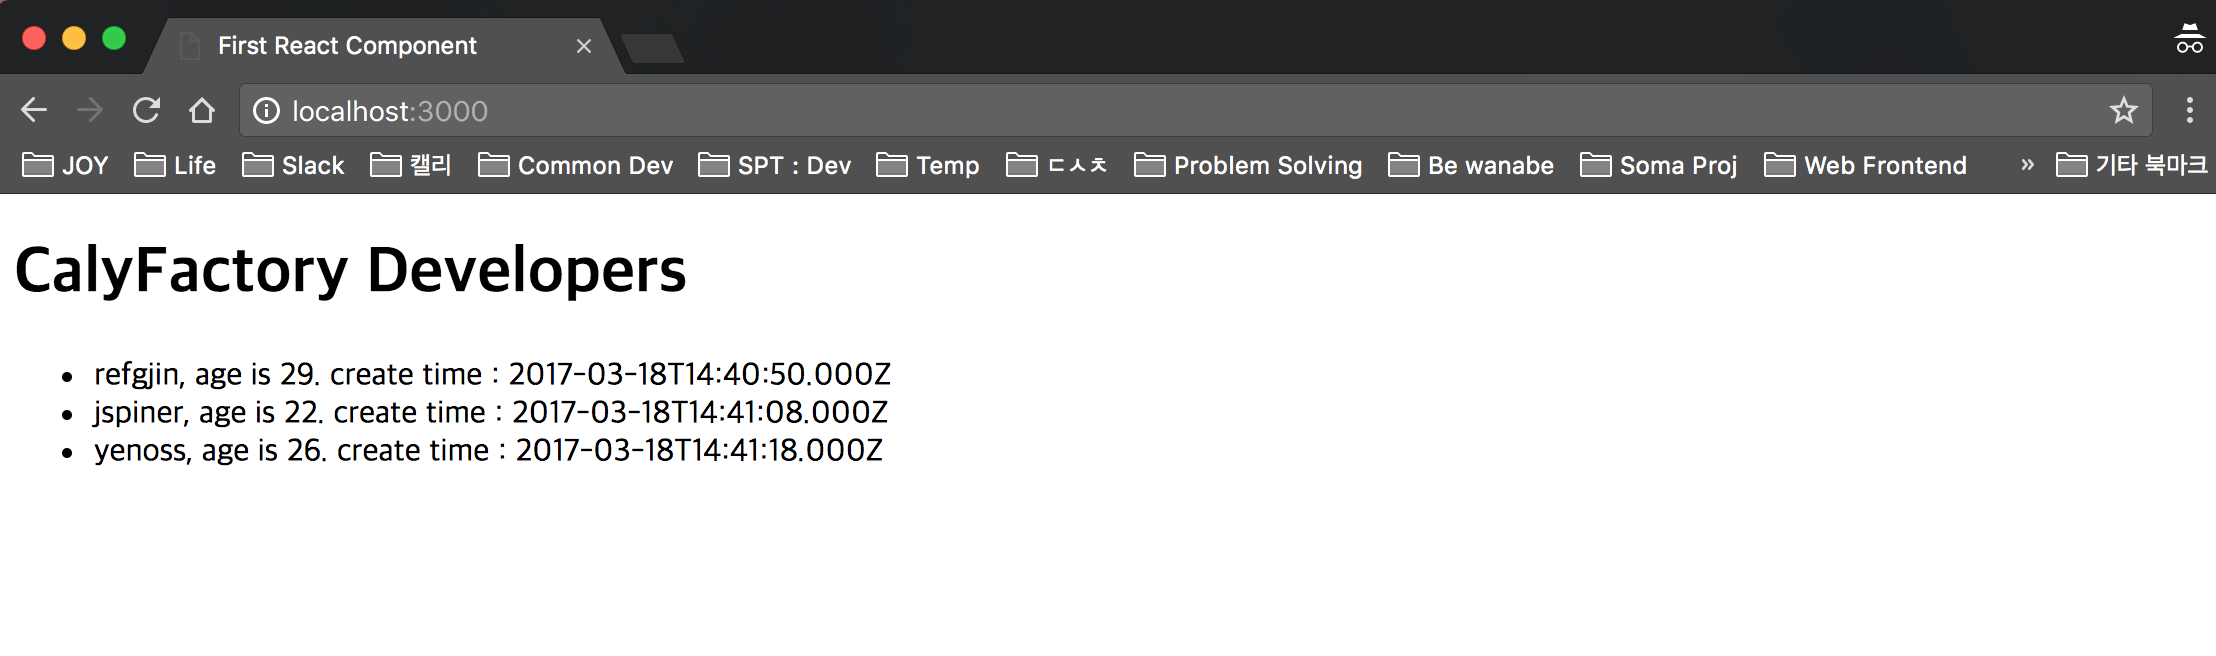
코드를 모두 저장한 뒤, 정상 실행을 하게 되면 다음과 같은 화면을 볼 수 있을 것이다.
코드 전체는 이 링크에서 참조할 수 있다.

Comments